

Crafty quarantine ideas: 4 activities to stop boredom
During the last few weeks I, like many others, have had more free time on my hands than normal. Now I could spend that time working on homework and getting ahead, but as a procrastinator I find that hard to do. I could also spend my time watching a new series on Netflix, but I never seem to find anything I want to watch. I want to make something, do something productive. What can I do besides homework that might be productive? The only acceptable answer is arts and crafts!
I have compiled a list of a few crafts that can be done with minimal supplies that you might have at home. I would encourage you to do any of the following activities, but only if you have the supplies at home or are already going out for necessary items. I will add that the craft store Michaels is doing curbside pick-up for orders, so at the very least you can limit contact if you are going to buy supplies.
Activities:
CDC Approved Masks
Homemade Rock Candy
Friendship Bracelets
DIY Heating Pad
CDC Approved Masks
Materials:
Cotton Fabric
Rope Elastic or flat elastic
Sizes:
Adult: 9 inches by 6 inches
Child: 7.5 inches by 5 inches
Instructions:
Put right sides of cotton fabric together and cut a rectangle of the required size.
Cut elastic 7 inches long.
Starting at the center of the bottom edge, sew to the first corner, stop. Sew the elastic with the edge out into the corner. A few stitches forward and back will hold it into place.
Sew to the next corner, stop, and bring the other end of the same elastic to the corder and sew a few stitches forward and back.
Sew across the top of the mask to the next corner. Again put an elastic with the edge out
Sew to the next corner and sew in the other end of the same elastic.
Sew across the bottom leaving about 1.5 to 2 inches open. Stop, cut the thread. Turn inside out. Pin 3 folds on each side of the mask. Make sure the folds are the same direction
Sew around the edge of the mask twice.
Credit: https://www.allinahealth.org/-/media/allina-health/filesn/mask-sewing-how-to.pdf
Homemade Rock Candy
This recipe can easily be adapted for different sized containers or bigger quantities. To do so, keep the water and sugar in a 1 to 2 part ratio.
Ingredients/Materials:
4 12oz Mason Jars or Water Glasses
Wooden Skewers
Clothespins
2 Cups Water
4 Cups Granulated Sugar
Optional: 2 Drops Food Coloring
Optional: ½ - 1 teaspoon flavoring extract or oil
Instructions:
Bring the water to a boil over medium heat. Add the sugar one cup at a time, making sure to stir now and then. Once the sugar is dissolved, remove the pan from the heat and put it off to the side to cool.
If desired, add your flavor and/or color to the sugar solution.
While the sugar-water mixture is cooling, wash out a few jars/cups. Take your wooden skewers and carefully dip them into the sugar solution. Pour the extra sugar on a plate and roll the skewers in sugar to coat them. Finally, clip a clothespin to each skewer—this will let you hang them in your jars or glasses.
Once completely cooled, fill each jar with the remaining sugar solution. Place one sugar-coated stick in each jar while being careful not to let them touch the jar itself.
Gently cover the jars with plastic wrap to make sure no unwanted bugs wing their way in. Leaving the skewers in the solution longer will make the rock candy larger.
Credit: https://www.tasteofhome.com/article/how-to-make-rock-candy/
Friendship Bracelets
I miss the friends I made in class, my roommate, and the other people on my floor. If you do too, you could make friendship bracelets and mail them to your friends. Making the bracelet won’t take long and it will be a nice present for your friend.
I have made many different kinds of friendship bracelets over the years because I went to the YMCA before and after school daycare and summer daycare for 8 years. I was in the program longer than any of the counselors in charge of me. Since there are many different kinds, I will share an uncommon one that I like with you. You will end up braiding the string so it becomes a cord.
Materials:
String or Yarn of any size and color
Instructions:
1. Pick out 3, 5 or 7 colors of string and cut to the same length, twice as long as you would normally make it. Longer is better as you can always tie and cut off any extra or wrap it twice. I used 36 inches for a three string bracelet and it could wrap around twice. Note: more strings will make the bracelet thicker.
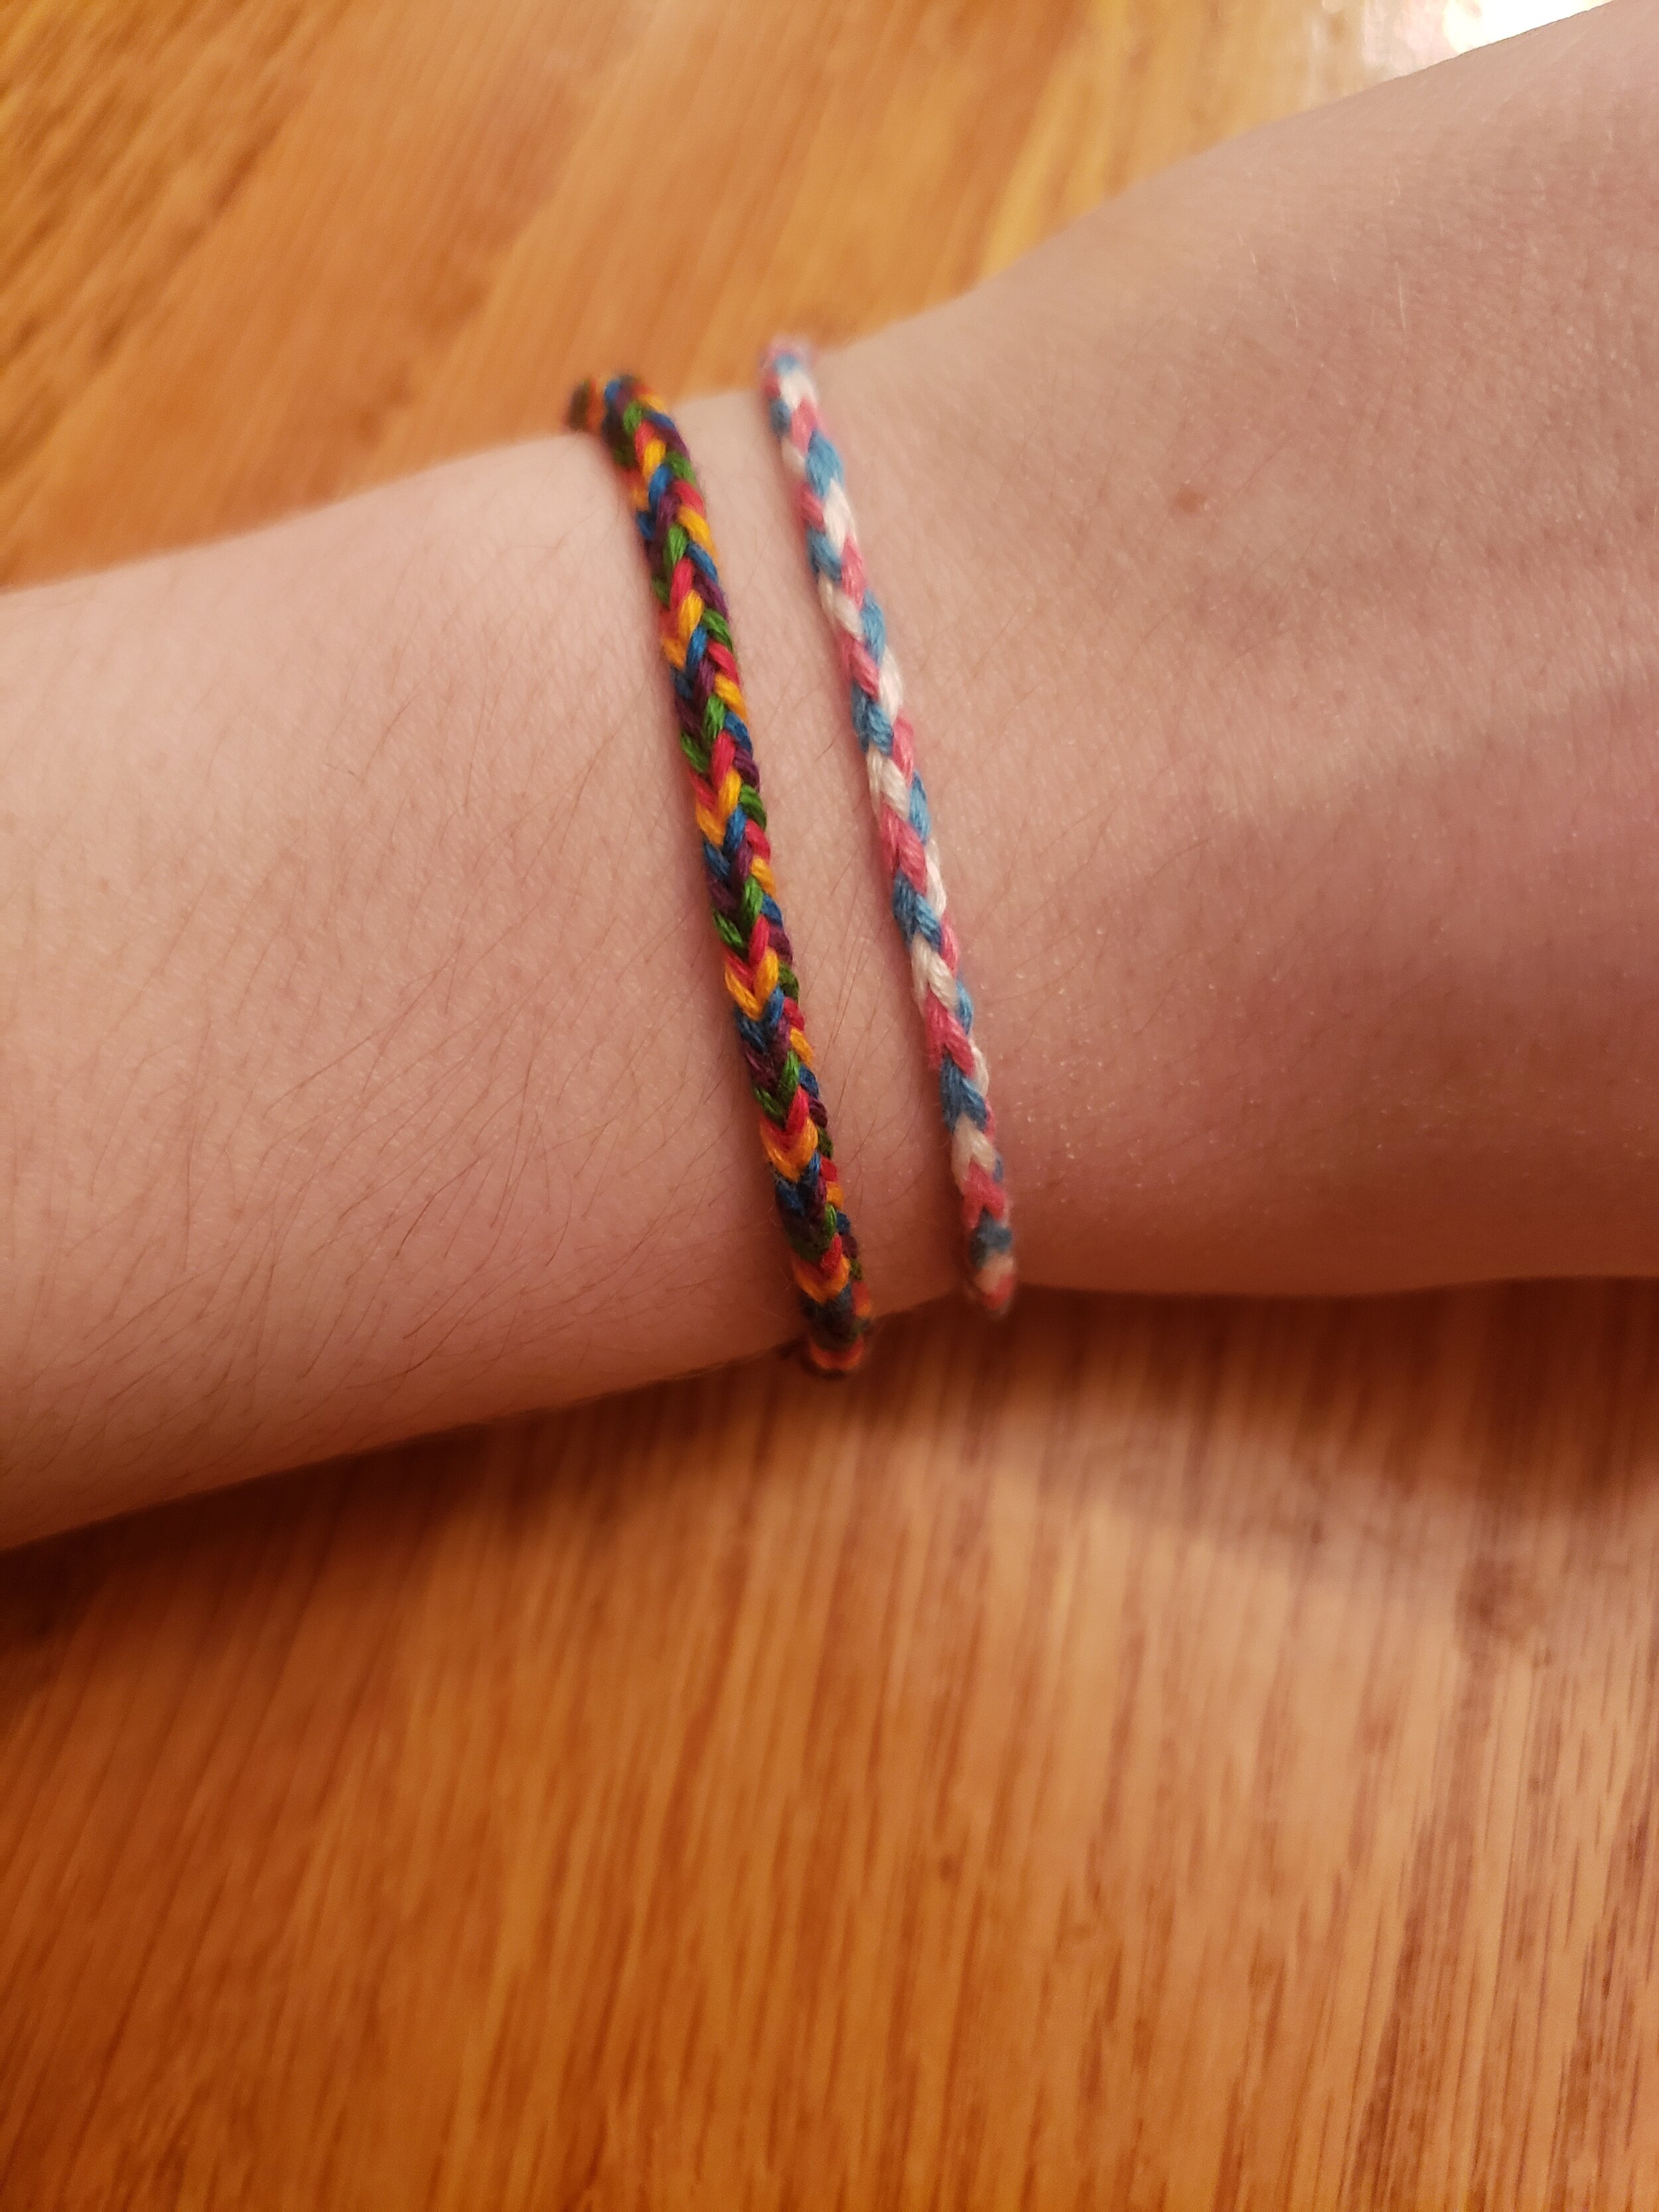
Two bracelets made using the same string in different colors, the 5 string is noticeably thicker than the 3 string bracelet
2. Fold each color in half to make a loop.
3. Using the open ends, tie off the strings. You will be using the loops to form the bracelet.

4. Put one loop of string around your fingers. If you are using three strings, on one hand there will be a loop on your pointer finger and on the other there will be a loop on your pointer and middle fingers. For five strings, on one hand there will be a loop on your pointer, and middle fingers and on the other there will be a loop on your pointer, middle and ring fingers. If you are using seven strings, on one hand there will be a loop of your pointer, middle and ring fingers, and on the other there will be a loop on your pointer, middle, ring and pinky fingers.


5. Use an empty finger on the hand with less loops (I suggest middle for 3, ring for 5 and pinky for 7) grab the top string of the loop(s) on all but the top string on the hand with more strings. Grab the top loop and pull through the other strings.

6. Pull the strings tight by moving hands out to the sides. Make as tight as possible for best results.
7. Repeat. Repeat. Repeat until desired length or the loops become too tight to continue, then tie off ends.
8. Tie ends together to make a bracelet.
DIY Heating Pad
This next craft has multiple uses. During the last few weeks, anxiety has been a little higher for a lot of people. This rice sock can help with that, as the weight can have a soothing effect. It can also be used as a heating pad. As St. Kate’s is in Minnesota it is likely that you’ve gone back to your home and been so cold you're shivering. Put the rice sock in the microwave and it’ll be a heater. This is very easy to do and you likely have the materials at home.
Materials:
1 Sock (Can be an old one that you can’t find the match to or brand new, just make sure it’s clean) Note: the material of the sock is important. If it is made out of synthetic fibers, it cannot be put in the microwave and heated up. Also the size of the heating pad is dependent on the sock. Ankle socks will work, but it will be small. I recommend longer, fuzzy socks.
White Rice
Optional: Essential Oils
Instructions:
Transfer rice to a liquid measuring cup, or any cup/bowl with a spout. It will make it easier to get into the sock. Add a few drops of essential oils and stir if desired.
Pour the rice into the sock, leaving a few inches of sock to tie.
Tie off the end of the sock. Allow room for the rice to move around. Make sure the knot is pulled tight.
Put sock in microwave for a couple minutes to warm if desired.


